Red Sea Northern Wrecks and Reefs
Photo by happyunderpressure.com
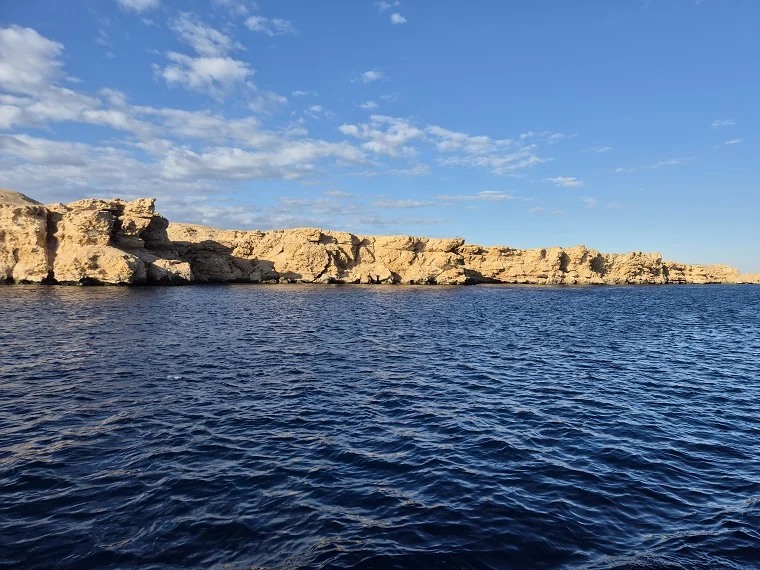
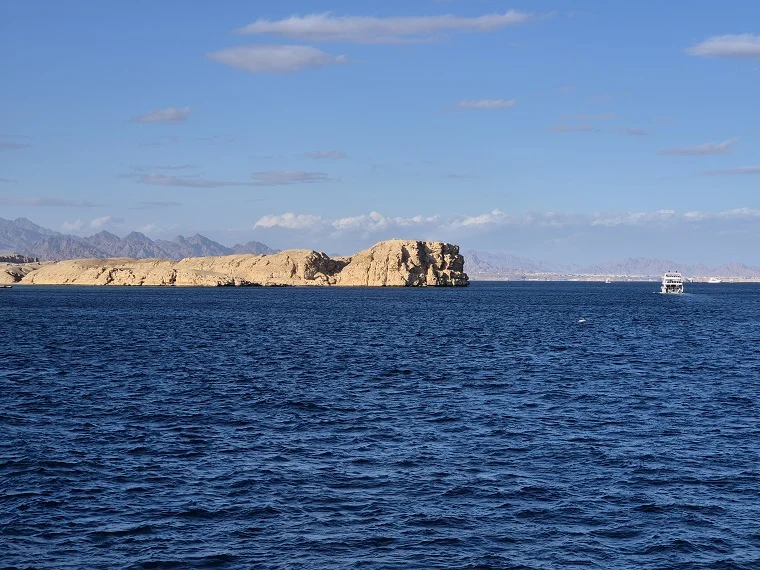
After two trips to Egypt’s southern Red Sea, I decided to change course and explore the northern regions, known for their incredible wreck diving north of Hurghada and the vibrant reefs of Ras Mohammed National Park. With water temperatures still hovering around 26 °C, the stage was set for a great week of exploration ahead.
A room in my house made it clear—it was dive time. I ran through a quick checklist to make sure nothing crucial was left behind. Everything packed, ready to go.
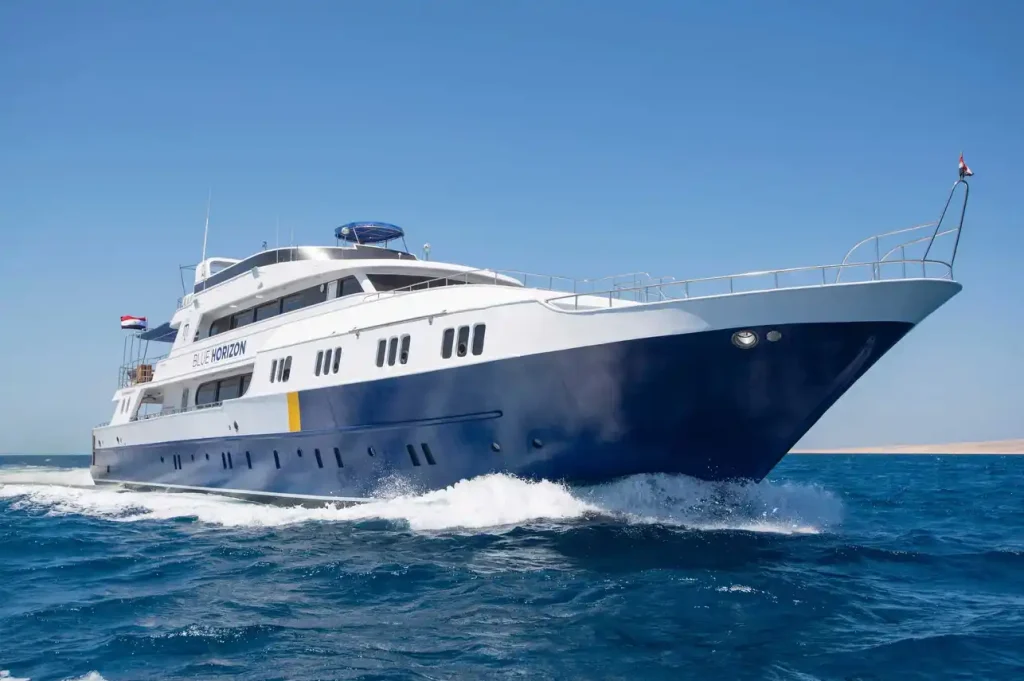
It was already evening when I boarded Blue Horizon, my home for the coming week. After being greeted by the guides, we completed the necessary paperwork, and following a quick dinner, I found my cabin on the lower deck. The travel day had been tiring, and I hoped that a long sleep would leave me feeling fresh in the morning.
That didn’t quite happen.
I barely slept—if at all. Maybe the excitement of everything that lay ahead took over my mind and kept me awake for most of the night. When I later mentioned it to Khalled, our guide, he admitted he’d had the same experience. At least I wasn’t alone.
Diving and dive sites
The dive sites we explored were spread across the northern Red Sea, from the entrance to the Gulf of Suez north of Hurghada to the reefs of Ras Mohammed National Park. Based on my experience from previous trip I decided to use Nitrox for all dives.
List of dive sites
- Poseidon Reef
- Bluff Point - The Barge
- Bluff Point - Reef
- SS Kingston
- SS Thistlegorm
- Shark and Yolanda Reefs
- The Alternatives Reef
- Jackfish Aley Reef
- SS Dunraven
- SS Carnatic
- Ghiannis D
- Chrisoula K
- Siyul Kebir Reef
- El Erg Reef
- El Fanadir Reef
Poseidon reef
The first check dive took place at Poseidon Reef, just north of Hurghada. This calm and easy site gave us the chance to check all our equipment, fine-tune our weighting, and sort out anything that needed attention. With everything set, I was eager to hit the first wreck.
We dived from the south side, keeping the reef on my left shoulder. Around the mooring area, I noticed some broken coral, but further along the reef the condition improved significantly. We reached beautiful coral gardens, with some coral colonies 2–3 meters wide, growing directly from the reef wall. Schools of sea bannerfish and trumpetfish accompanied us, with the highlight of the dive being a spotted eagle ray.
- Dive time: 55mins
- Max. depth: 14m
- Current: none
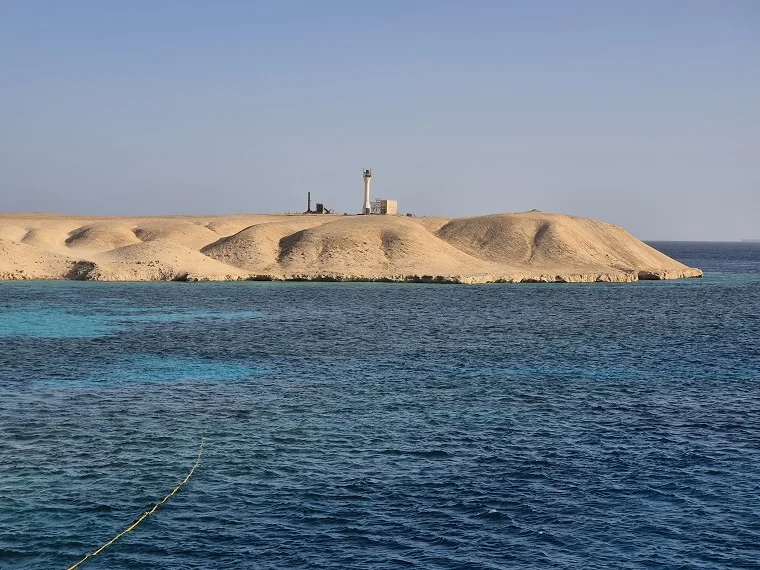
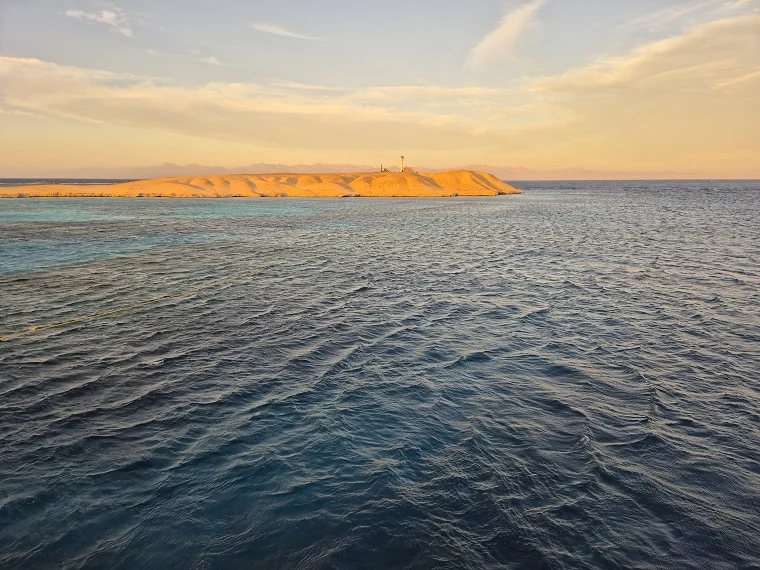
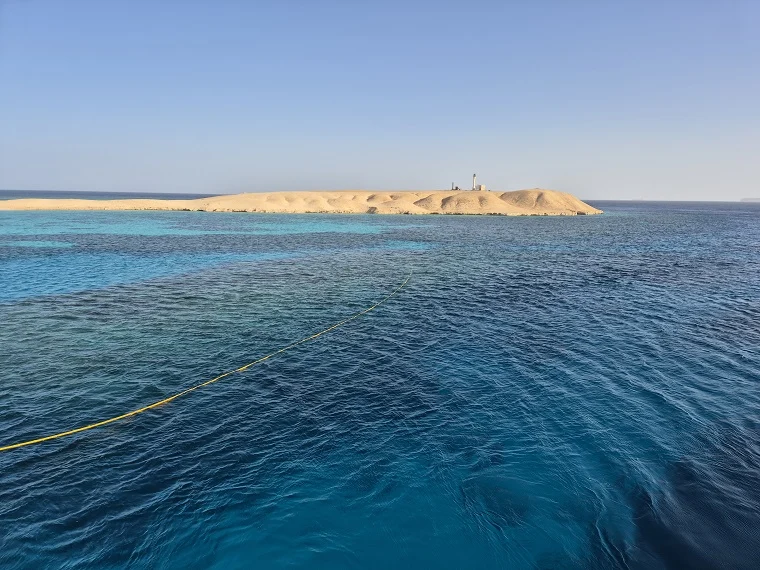
Bluff Point
Dive 1 - The Barge
Bluff Point is a dive site near a small island with a lighthouse. The barge wreck lies at a maximum depth of around 12 m, making it an ideal first “wreck” dive. The wreck hosts plenty of marine life, especially two large moray eels that appear to be permanent residents. As the structure is wide open, it is possible to swim around both sides and straight through the barge. It was a nice, easy dive with very little current at the time. After exploring the barge, we continued along the reef and returned to the boat.
- Dive time: 60mins
- Max. depth: 15m
- Current: mild
Dive 2 - The Reef
During the second dive, we explored the area to the right of the barge, towards the lighthouse. A light current turned the dive into a gentle drift along the reef. After rounding the corner, the dive transitioned into a wall dive. Due to the stronger current, we had to stay close to the wall. The water temperature dropped noticeably in the current. The reef and wall feature plenty of hard and soft corals, and marine life was also good.
- Dive time: 58mins
- Max. depth: 20,5m
- Current: moderate
SS KINGSTON
The SS Kingston was a British 19th-century cargo steamer that sank in 1881 on the west side of Shaab Rock, near the Sinai Peninsula. Today, it is a popular shallow wreck, with the stern resting at around 5 m and the propeller at approximately 19 m. After almost 150 years underwater, the wreck has become an integral part of the surrounding reef system.
Due to its relatively shallow depth and abundant coral growth, the site offers excellent coral gardens in very good condition, along with plenty of reef fish and marine life. Common sightings include Acropora, fire and honeycomb corals, as well as lionfish, scorpionfish, and moray eels. The wreck itself is wide open and easy to penetrate.
The dive started at the stern, and we descended along the left side of the wreck down to the propeller. From there, we turned around the rudder and followed the right side of the wreck, exploring the surrounding coral gardens before ascending back into the shallows to enter the wreck. The wooden decking is long gone, allowing plenty of natural light inside. Although some remaining beams create slightly tighter swim-throughs, there is never a feeling of being fully enclosed.
After exiting, we continued exploring the coral fields and the left side of the wreck. In the shallow water, coral colours are less affected by depth and, combined with the abundance of reef fish, create an amazing underwater scene. For me, this was one of the best dives of the trip.
- Dive time: 62mins
- Max. depth: 14,5m
- Current: none
SS THISTLEGORM


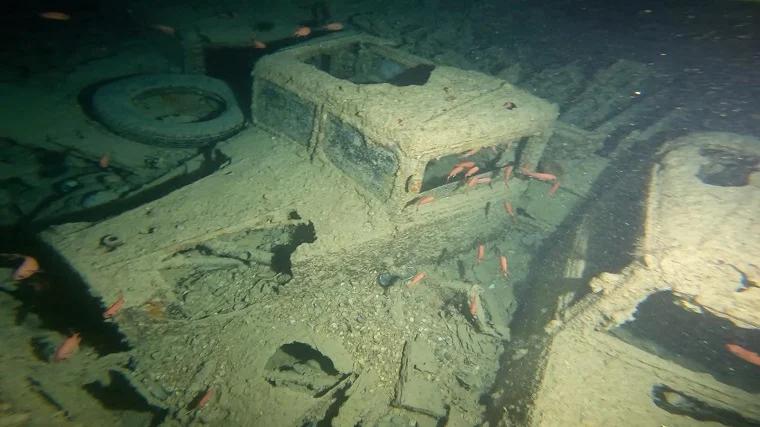
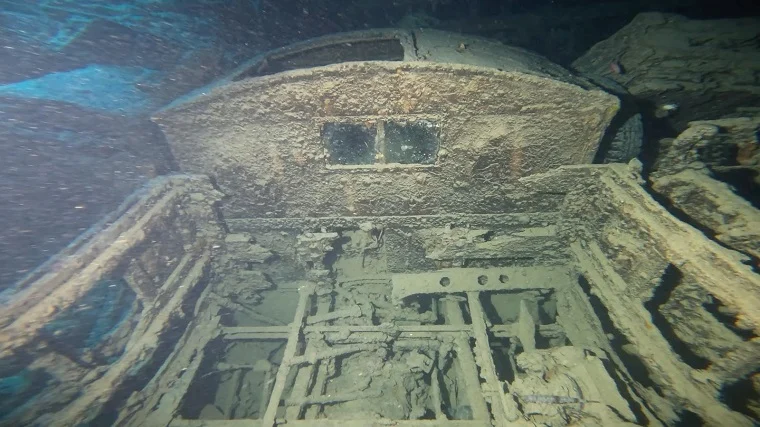
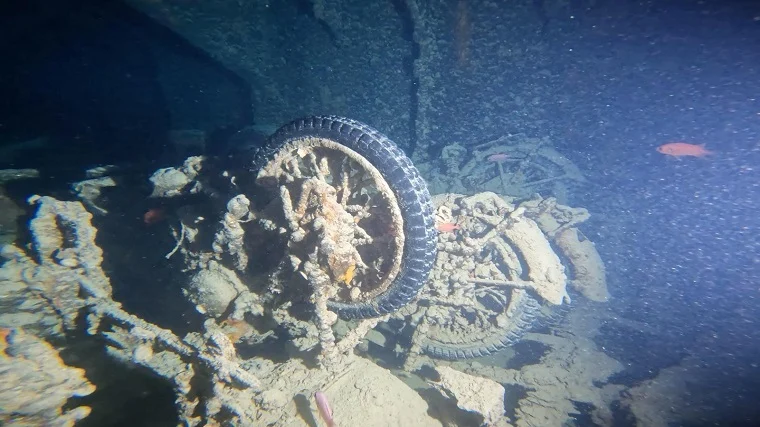
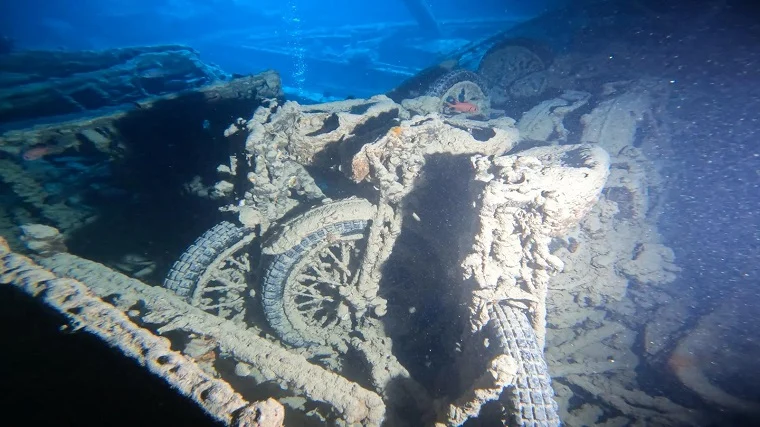
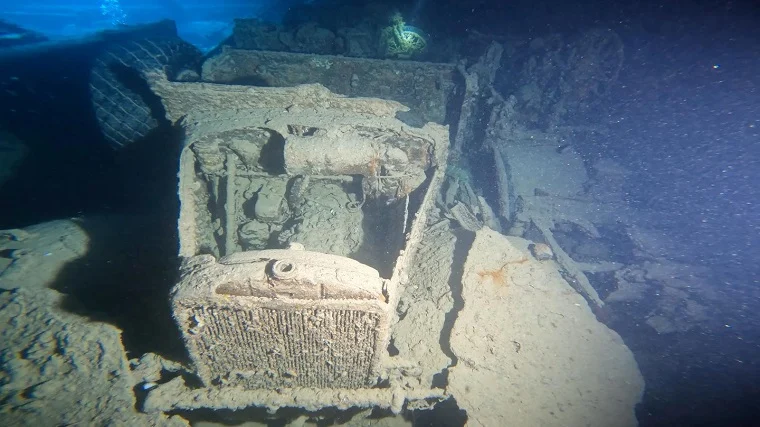

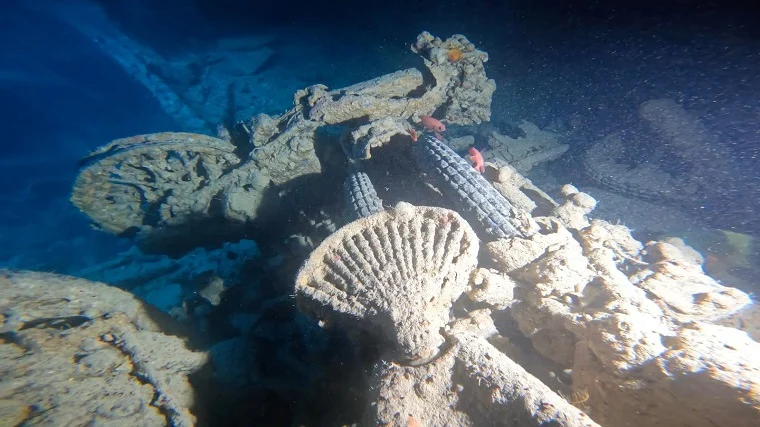
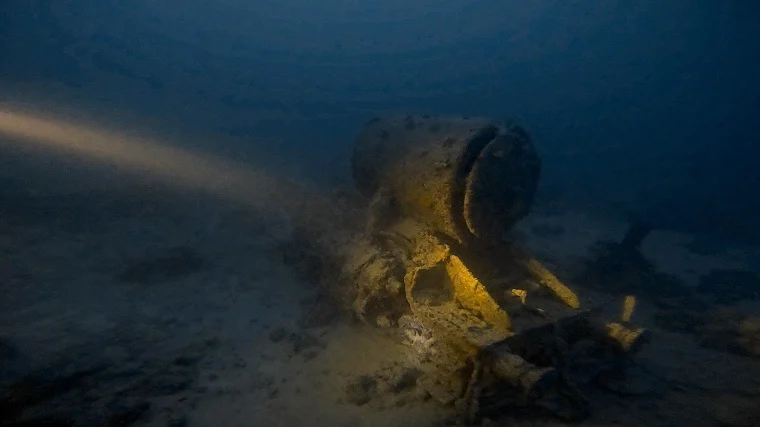
Image credit: Greg Schuler
Dive 1
It was afternoon when we arrived at probably the most famous Red Sea wreck—the SS Thistlegorm. The ship had been transporting military supplies for British troops in the North Africa theatre of World War II when it was spotted and bombed by German aircraft. It sank on 6th October 1941.
The Thistlegorm went down fully loaded with rifles, ammunition, motorcycles, jeeps, tanks, and trucks. There are even two locomotives—the explosion blew them off the ship, and they now lie on the seabed on either side of the wreck. The site truly feels like an underwater museum.
Our boat was anchored directly to the wreck, and we used the mooring line to descend on all dives. The strong current made the wreck a welcome shelter. The dive started at the bell section, from where we explored cargo holds number 1, 2, and 3, before returning to the bell area. The first two holds, connected by a small opening, are packed with military supplies, while the third hold is mostly empty, with only remnants of the original coal cargo.
There were a significant number of divers on site, so for the next morning dive we agreed on an early start to beat the crowds.
- Dive time: 35mins
- Max. depth: 25m
- Current: strong
Dive 2
A 5:45 wake-up call and a 6:00 dive briefing felt too early for some, but getting into the water shortly after 6 meant we were the first group on the wreck—no other divers around.
This time, the dive plan was different. We descended the line again, but with no current, we were able to make our way along the empty tank wagon to the outside of the wreck. From there, we continued along the deck until we reached the point where we turned right and set off into open water to find one of the locomotives.
The port side locomotive rests not far from the wreck and creates a surreal yet beautiful underwater scene. After a good look and a swim around the engine, we returned to the ship at the area of greatest destruction. Two tanks are still visible here, with large amounts of ammunition scattered around them.
A short distance further towards the stern, we reached the anti-aircraft guns, still mounted on the rear deck. Rounding the propeller marked the furthest point of the dive, after which we began our return towards the bell. On the way back, we managed a short swim-through of the bridge before reaching the line again.
Swimming around the entire wreck gives a powerful sense of its true size—and of the force of the explosion that ultimately sealed its fate.
- Dive time: 40mins
- Max. depth: 28,5m
- Current: mild
Dive 3
The night dive was cancelled by mutual agreement with our guides due to the strong current.
The final dive greeted us with strong current once again. During the first half, we followed a similar dive profile to the first dive, but on the return we explored the upper level of the wreck. This level is much more confined than the lower one, but offers a lot to see—rifles, motorcycles, and trucks.
Following the tank wagons, we made our way back to the bell. Just before ascending the line, our guide signalled for me to swim to the very tip of the bow and look down towards the seabed. From there, you truly get a sense of how massive the ship really is.
And that was it—three unforgettable dives at the underwater museum of the SS Thistlegorm.
- Dive time: 36mins
- Max. depth: 25,5m
- Current: strong
Shark and Yolanda reefs
Starting the dive at Shark Reef offered an impressive sight—the wall dropping to depths of almost 700 m. Following the wall provided great views of soft corals and a wide variety of reef fish, eventually leading us into the shallower part of the reef and towards the crossing to Yolanda Reef.
The channel greeted us with a strong current, making the crossing more demanding. On the other side, the reef rewarded us with beautiful soft corals and plenty of fish, both along the reef and out in the blue. The dive ended near Satellite Reef, above the area where numerous toilet bowls are scattered across the seabed.
- Dive time: 47mins
- Max. depth: 24,5m
- Current: limited, strong in between the reefs
The Alternatives
The Alternatives offered a sheltered anchorage for the night and gave us the opportunity to do a night dive. We chose two pinnacles for the dive, circling one of them before exploring the area beneath the boat. There was a slight current between the pinnacles, but otherwise the site was very calm.
The highlight of the dive was two large trevallies playing around, constantly returning to the beam of my torch. Plenty of daytime reef fish rested quietly in the crevices of the reef, adding to the magical nocturnal scene. This was a really easy night dive, suitable even for beginners, as the swim around the pinnacle was short and the site remained shallow.
- Dive time: 46mins
- Max. depth: 13m
- Current: none
Jackfish Alley
The dive site is clearly marked by a white streak on the cliff, caused by nesting birds. According to our guide, this is why the site is also nicknamed “Jackshit Alley.”
Right after entering the water, we swam into a small cave at around 6 m. After exiting the cave, the dive followed a steep wall and led us to a sandy bay at about 14 m. Around the pinnacle and above it, we found plenty of hard and soft corals. At one coral outcrop, we discovered a small opening filled with a school of glassfish.
The dive continued above colourful coral gardens, watched over by large barracuda calmly hovering above our group—an impressive sight. The dive ended in Sandy Alley.
- Dive time: 62mins
- Max. depth: 17,5m
- Current: none
SS Dunraven
Sunk on Sha’ab Mahmoud Reef in 1876, the Dunraven rests completely upside down, with its port side lying parallel to the reef. The bow starts at around 17 m, while the stern reaches a depth of approximately 30 m.
The dive began with a descent to the bow and followed the wreck down to its deepest point at the stern and propeller. From there, a small opening allowed us to enter the wreck and swim back towards the bow from the inside. The wreck is broken up with multiple openings, and one side has completely collapsed in the middle section, which serves as the exit point. Penetration of the bow section is not recommended, so we returned to the propeller area instead.
A few large trevallies were cruising and playing in the nearby water, adding some dynamic movement to the dive. By the end of the dive, there was still plenty of time to explore the adjacent reef, which was teeming with small reef fish.
- Dive time: 43mins
- Max. depth: 30m
- Current: none
SS Carnatic
The SS Carnatic sank in 1869 after striking Sha’ab Abu Nuhas Reef while carrying a cargo that reportedly included 40,000 pounds in gold coins destined for the Indian Mint. As you can imagine, the story of the precious cargo attracted plenty of attention among my fellow divers. Officially, all valuables were recovered… but you never know 🙂
The ship lies on her port side, parallel to the reef, with the keel facing towards it. The dive started at the stern, where we descended to the propeller. After a brief look around, we entered the wreck. Space inside is limited, and it is often easier to swim above or below other divers rather than around them.
The iron cross-members of the steel hull are fully exposed, as the wooden decking has long since rotted away. This allows plenty of light to penetrate the wreck and provides an excellent foundation for both soft and hard corals. It is impressive to see how much life has attached itself to every single beam. For this reason, we were advised not to exit the wreck randomly between the beams, as this would almost certainly damage delicate marine life.
I noticed many scorpionfish perfectly camouflaged throughout the wreck. The middle section has collapsed, revealing two large steam engine blocks. The bow section is also accessible, and at the very tip of the bow there is a small opening that offers a glimpse inside—an ideal spot for an interesting photo. By the end of the dive, we made our way back to the stern.
- Dive time: 48mins
- Max. depth: 25m
- Current: none
Ghianis D
The freighter sank in 1983 while delivering a cargo of sawn timber to Saudi Arabia and Yemen. The wreck is broken into three sections, with the bridge deck and engine room located at the stern. It rests at a 45-degree angle, which makes the sense of being horizontal feel unusual when inside the wreck.
We entered at the stern, descending to the engine room at a depth of 27 m, where a massive diesel engine dominates the space. After exploring this section, an opening allowed us to exit the wreck and continue towards the bow, passing the collapsed middle section. Here, we encountered a school of spadefish peacefully hovering above vibrant coral growth.
Two masts remain—one broken and the other protruding from the wreck—which are both worth exploring. The dive continued to the bow before we returned above the wreck to the exit point near the bridge.
- Dive time: 53mins
- Max. depth: 20,5m
- Current: none
Chrisoula K
The freighter sank in 1981 while transporting large patio-style floor tiles from Italy to Jeddah. After descending to the stern, we began exploring the wreck, which extends from a depth of 27 m at the stern up to just 4 m at the bow.
Near the sandy bottom, a colony of garden eels added a special touch to the dive. The wreck itself is teeming with marine life, and hard corals are gradually taking up residence. Holds No. 1 and No. 2 are wide open from the sides, and the cargo of floor tiles is still clearly visible.
- Dive time: 51mins
- Max. depth: 24m
- Current: none
Siyul Kebir Reef
An easy dive site featuring a reef with rich coral structures, mainly composed of net fire corals. We enjoyed a relaxed drift dive here.
- Dive time: 56mins
- Max. depth: 21m
- Current: none
Sha'ab El Erg Reef
The site is also called Dolphin House, as there is a great chance to see the dolphins, especially in the channel between two reefs.
Dive 1 - Night dive
Arriving at the site late in the afternoon gave us the opportunity for a night dive. For me, night dives are pure magic, so I couldn’t miss it. We circled the reef and returned to the boat, exploring the surreal scenes of vibrant Acropora corals and countless sea urchins hiding among the abundant coral growth. I thought to myself that this site must be incredible during the day—and I could have sworn I heard dolphins in the distance…
- Dive time: 49mins
- Max. depth: 12m
- Current: none
Dive 2 - Dolphin time
Full of expectations, our plan was to follow the same dive profile as the night dive, but spend as much time as possible in the channel to increase our chances of encountering dolphins. The site looked incredible in daylight, which made waiting in the channel even more enjoyable. The reef wall was covered with vibrant corals, and the sandy bottom provided plenty of spaces for rich marine life.
- Dive time: 63mins
- Max. depth: 14m
- Current: none
El Fanadir Reef
The last dive of the trip was an easy one as we made our way back to Hurghada. We first explored the edge of the drop before returning to the reef and continuing along it. The dive was full of highlights—plenty of blue-spotted stingrays, schools of clownfish, and even the occasional crocodilefish buried in the sand—making it a perfect way to end the liveaboard adventure.
- Dive time: 54mins
- Max. depth: 18,5m
- Current: light
Was it worth it?
The Red Sea Northern wrecks itinerary offers a good mixture of wreck and reef diving, including the most famous wreck – SS Thistlegorm. The water temperatures are favourable even during December, but it’s the end of the season for many boats. I found it a bit chilly after the dive as the weather was windy, especially when changing from a dive suit. Based on the dive site’s depths, they are well suited for Nitrox dives.
The trip