
The Ultimate Guide to Planning a Scuba Diving Trip
Everything you need to consider before booking your next dive holiday — from seasonality and skill level to gear, safety, and logistics.
Photo by Juraj Hrabovsky, HUP
Planning a scuba diving trip is not the same as booking a beach holiday. Water temperature, currents, certification level, seasonality, marine life cycles, and local regulations all affect your experience — and your safety.
This guide walks you through the exact decision-making framework experienced divers use when planning a dive trip.
Table of Contents
Step 1: Choose the Right Destination (Not Just the Prettiest)
Skill Level & Certification Requirements
Dive destinations vary greatly, and not every destination is suitable for every diver.
Drift-heavy areas like parts of the Red Sea or Indonesia often require Advanced Open Water certification and experience in currents. Many liveaboards require a minimum of 30–50 logged dives and may also require additional specialties such as Nitrox or Deep Diver certification, depending on the itinerary.
Before booking, check:
- Minimum certification required
- Minimum logged dives
- Experience in currents, deep dives, or negative entries
- Nitrox certification requirements
Check the required certification level against the standards of your training organization, such as:
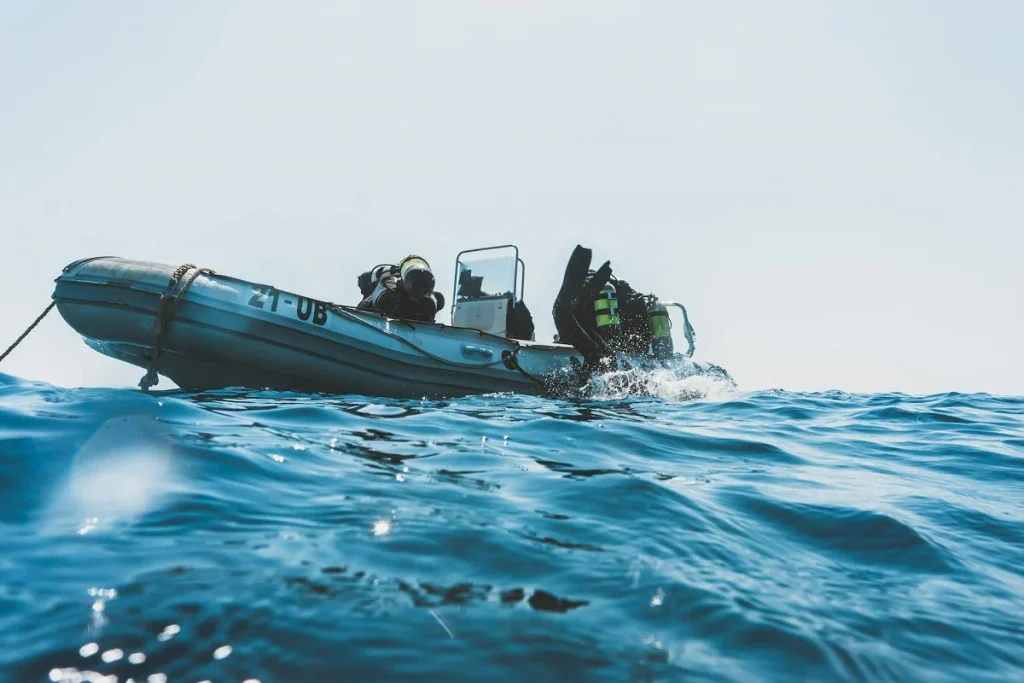
Image credit: Photo by Pia B on Pexels
Dive Conditions (Currents, Depth, Visibility)
General dive conditions are the next important factor to consider. By asking yourself the following questions, you can exclude some destinations or dive sites from your shortlist — or add new ones that better match your preferences.
Ask yourself:
- Are you comfortable with strong currents?
- Do you prefer macro life or big pelagics?
- Are you sensitive to cold water?
- Do you enjoy deeper dives (30m+)?
Marine Life Seasonality
Many divers choose destinations for specific encounters — manta rays, whale sharks, shark aggregations — and there’s nothing wrong with that. However, keep in mind that these encounters are seasonal and often linked to plankton blooms, spawning cycles, or migration patterns.
Do a little reseach about :
- Best months for key species
- Spawning seasons, like coral spawning
- Monsoon cycles
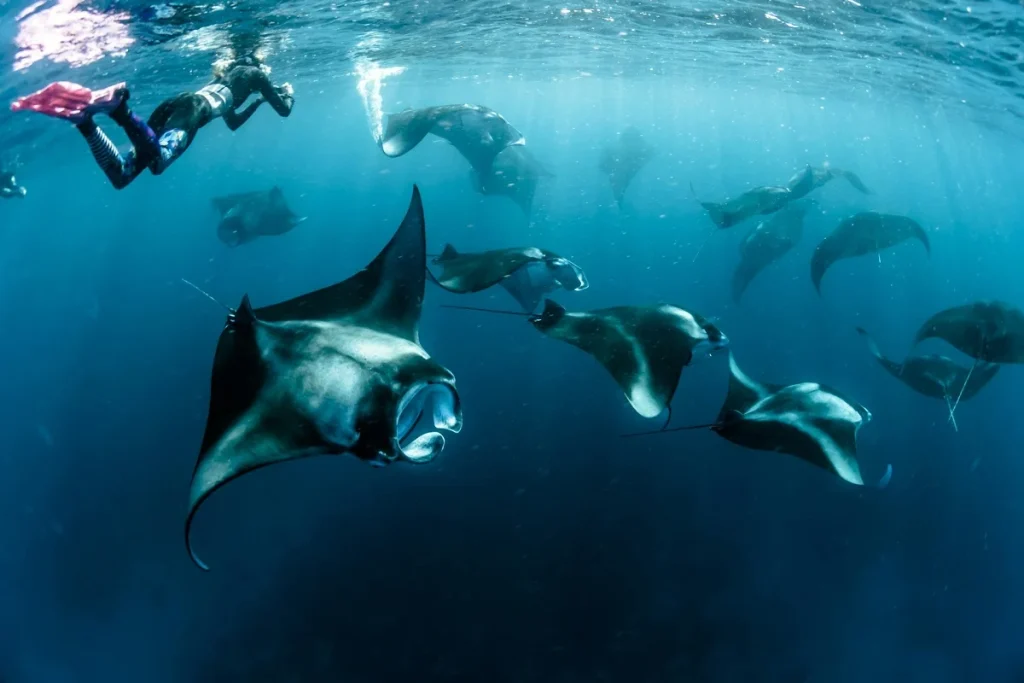
Image credit: Photo by Sebastian Pena Lambarri on Unsplash
Step 2: Timing — When Is the Best Time to Dive?
The first question that naturally comes to mind is: What is the best season? The “best” season is not always peak season. High season usually offers the calmest seas and best visibility — but also higher prices and crowded dive boats. Shoulder seasons often provide excellent value with fewer divers.
When choosing the right season to dive, check:
- Water temperatures
- Wind patterns (especially for boat diving)
- Cyclone seasons (avoid cyclone seasons altogether)
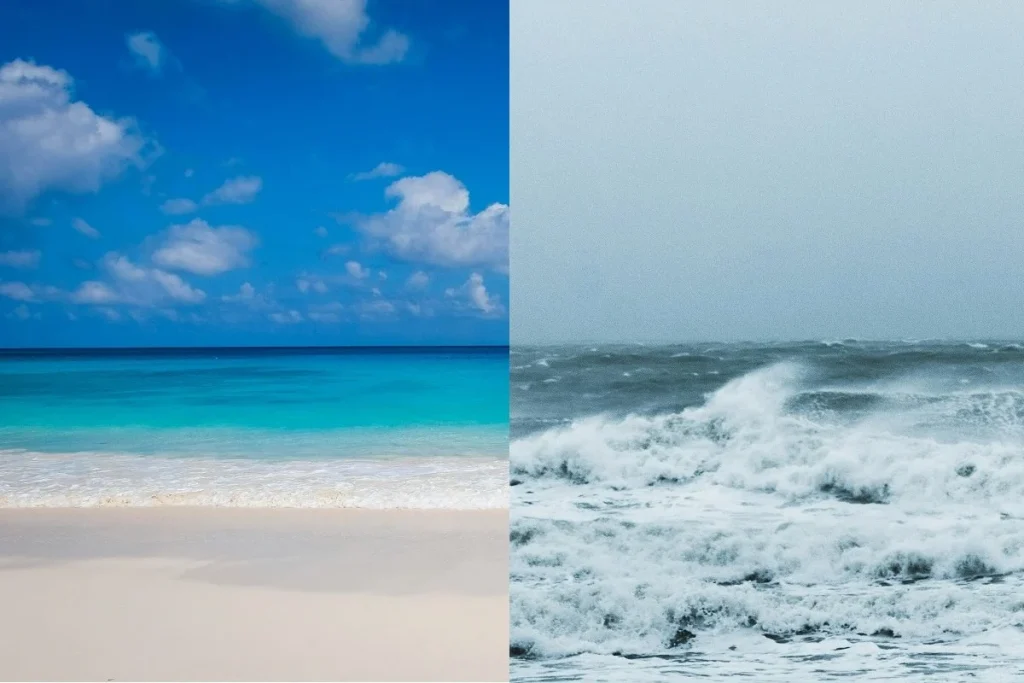
Original image credits: Photo by Jessica Pamp on Unsplash, Photo by Tom Verdoot on Unsplash
Step 3: Liveaboard vs Land-Based Diving
Liveaboards are ideal for more experienced divers who want maximum dive time and access to remote reefs. Other activities are limited due to the nature of liveaboard trips and technical constraints. Do not count on stable Wi-Fi (if any at all), and land excursions may or may not be available.
Land-based trips offer flexibility and comfort and are better suited for mixed groups or families. The diving pace is more relaxed, so you will most likely dive less than on a liveaboard trip, but you don’t have to spend all your time on a boat. This makes land-based trips significantly more flexible for non-divers.
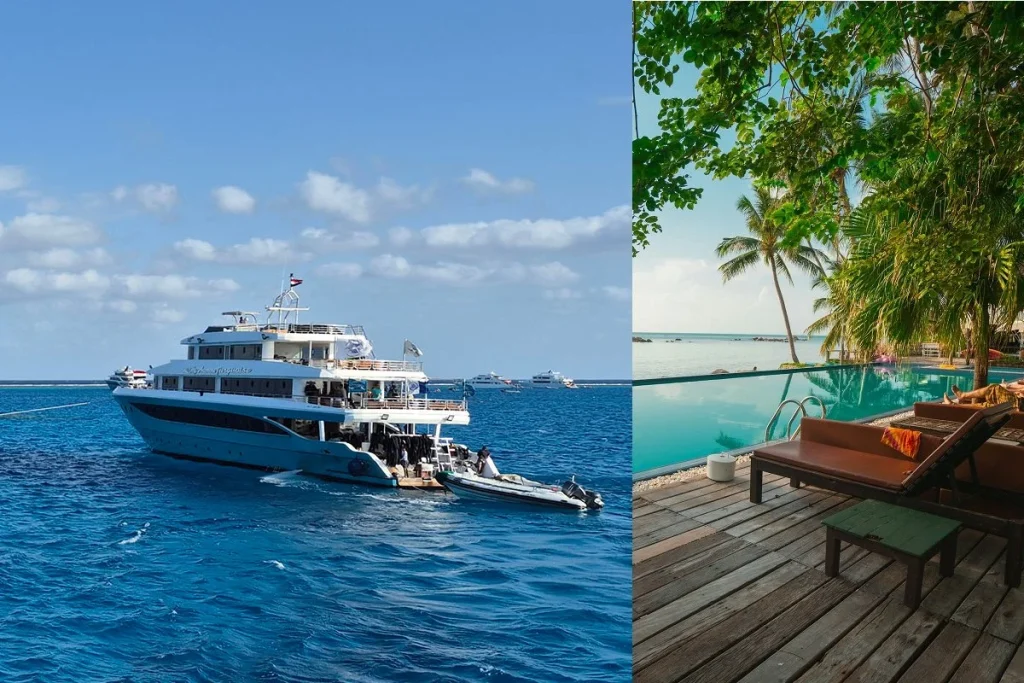
Original image credits: Juraj Hrabovsky – HUP, Photo by Sasha Kaunas on Unsplash
Step 4: Budget Planning & Hidden Costs
Many destinations advertise low dive package prices, but additional costs such as marine park fees, equipment rental, and Nitrox can significantly increase your total budget. Make sure you are aware of these to avoid being surprised by the final bill.
Always clarify whether the price includes or excludes the following:
- Flights
- Accommodation
- Dive packages
- Marine park fees
- Equipment rental
- Nitrox fees
- Gratitude payments
- Insurance
- Visa
- Tips
- Local transport
Step 5: Equipment & Packing Strategy
Regardless of the type of holiday, I always bring my own mask — always. There is nothing more annoying than a leaky mask because it doesn’t fit properly. Bringing the one I know works removes that stress. It doesn’t take up much space.
A dive computer is the second piece of gear I always take. I know how my computer works and how to set it. I don’t want to waste time learning another one — or spend money renting it.
When to Rent vs Bring
This greatly depends on what you own and where you are going — in other words, what you are realistically able to bring. Check the weight limits of your luggage. If you are not restricted, take your own gear.
Golden rule: I know my gear better than a rented one. I’ve used it, I trust it, and I know it works (provided you service it regularly). Using your own gear can also save you money. Except tanks and weights, obviously — especially when flying.
Exposure Protection
Choose your exposure protection according to the water temperature during your travel season. The following table provides general guidance, but keep in mind that perception of cold varies from person to person.
|
Water temperature
|
Suit type & thickness
|
|---|---|
|
28°C / Over 82.4°F
|
UV protective dive skin, bathing suit or rashguard are sufficient
|
|
25°C-27°C / 77°F – 80.6°F
|
1mm full suit or 2mm shorty wetsuit
|
|
22°C-24°C / 71.6°F – 75.2°F
|
3mm full suit
|
|
17°C-21°C / 62.6°F – 69.8°F
|
5mm full suit
|
|
10°C-16°C / 50°F – 60.8°F
|
7mm full suit or 8/7mm semi-drysuit
|
|
5°C-10°C / 41°F – 50°F
|
8/7mm semi drysuit, or drysuit
|
|
Under 5°C / 41°F
|
Drysuit
|
Step 6: Travel Logistics & Documentation
Make sure you are familiar with the visa policy of your destination country. Requirements vary depending on the passport you hold, so check carefully.
Dive insurance is not optional. Many operators require proof of active dive insurance, as medical costs related to diving incidents — including potential treatment in a hyperbaric chamber — can be significant. This is a must for me — and it should be for you too. No cutting corners here.
Organizations like Divers Alert Network (DAN) provide emergency evacuation coverage specifically for diving-related incidents.
If you have any medical condition that may affect your ability to dive, bring written clearance from your physician. I suggest having documentation even if you take prescribed medications.
Travel insurance is another essential. Life has its twists and turns, and it’s difficult to recover losses if things do not go according to plan.
One more important point: always allow sufficient time to “gas off” before flying. Plan this into your itinerary. I always book an extra night in a hotel to ensure I’m fully ready to fly.
Tip: Use that extra day to explore new places on land after your liveaboard trip.
Step 7: Safety & Risk Assessment
Before booking, evaluate the dive center carefully. Do not hesitate to contact the dive center directly and ask questions. Professional operators will answer clearly and confidently. If responses are vague, reconsider.
If possible, check:
Safety record of the dive center
Equipment maintenance standards
Oxygen availability onboard
Maximum diver-to-guide ratio
Clear emergency protocols
I always bring my emergency information card with me. It’s a single page containing the details of a person the dive operator — or anyone else — can contact in case of an emergency or accident. The card includes my name, dive insurance policy number, and the name, phone number, and email address of my emergency contact.
Best practice: choose an emergency contact who speaks English and is reachable at any time.
For an added layer of safety, I decided to buy a GPS locator that I can use in case of a boat accident, being separated from the boat, or any other situation requiring assistance at sea.
Step 8: Non-Divers & Family Considerations
If you’re traveling with non-divers, consider:
- Snorkeling access
- Beach quality
- Child-friendly activities
- Cultural or land excursions
A successful dive holiday is one where everyone enjoys the trip — not just the diver.
Step 9: Physical Preparation & Realistic Expectations
Diving multiple days in a row is physically demanding.
Prepare by:
- Staying hydrated days before travel
- Maintaining cardiovascular fitness
- Avoiding excessive alcohol before diving
- Sleeping adequately
Also manage expectations. Not every dive will deliver sharks, mantas, or perfect visibility. Sometimes the best dives are slow, quiet reef explorations. Approach each dive with curiosity, not pressure.
Step 10: The Ultimate Dive Planning Checklist
Before booking, confirm:
✔ My certification level matches site difficulty
✔ I understand seasonal marine life patterns
✔ I checked weather and wind conditions
✔ I reviewed full trip costs (including hidden fees)
✔ I secured dive-specific insurance
✔ I evaluated dive center safety standards
✔ I confirmed visa and travel requirements
✔ I packed essential personal gear
✔ I allowed adequate no-fly time
If you can check all these boxes, you are planning like an experienced diver.
Diving Holiday FAQ
What certification do I need for a scuba diving trip?
Most beginner-friendly destinations accept Open Water certification or equivalent. However, destinations with strong currents, deeper profiles (30m+), or drift dives often require Advanced Open Water or similar certification from agencies such as PADI, SSI, CMAS, or BSAC. Liveaboards may also require a minimum number of logged dives and recent experience.
How many logged dives are required for a liveaboard?
Most liveaboards require 30–50 logged dives, depending on the itinerary. Remote routes with strong currents or deep dives may require 50+ dives and Advanced certification. Operators prioritize safety and experience over certification logos, so recent diving experience is often just as important as total dive numbers.
When is the best time of year to go scuba diving?
The best time to dive depends on the destination. Peak season usually offers calm seas and better visibility, but also higher prices and more divers. Many marine life encounters — such as manta rays or whale sharks — are seasonal and linked to migration or plankton cycles. Always research both weather and marine life seasonality before booking.
How long should I wait to fly after scuba diving?
Divers should wait at least 18–24 hours after their last dive before flying. After multiple dives or a liveaboard trip, a full 24 hours is strongly recommended. Scheduling a buffer day before flying reduces decompression risk and adds flexibility in case of travel changes.
Do I need special insurance for a dive trip?
Yes. Dive insurance is strongly recommended and often required by operators. It covers emergency evacuation and hyperbaric treatment, which standard travel insurance may not include. Diving-related medical costs can be significant, so proper coverage should never be skipped.